Render Before You Produce: Event and Retail Materials
Most production mistakes are not design mistakes. The file was approved, the colours were right, the logo was in the correct position. The problem only becomes visible once the material is standing in a hall or sitting on a shelf, and by then it has already been printed, cut and shipped.
A 3D render is the cheapest moment to catch that. It costs a fraction of a reprint and it answers questions a flat design file cannot.
What a render shows that a design file does not
A design file shows you the artwork. A render shows you the object in a space, which is where four kinds of problems live.
Scale against a human body. A message that reads perfectly at 100% zoom on a monitor can be unreadable from three metres away, which is the distance most people will actually experience it from. Rendering with a human figure in frame settles this argument before production, not after.
Sightlines. On a stand, your key message is frequently blocked by your own furniture, by a counter, or by the people working the activation. You only see this from the visitor's eye level, not from the top-down plan view everyone approves.
Material and finish. Matte and gloss behave differently under hall lighting. A deep brand colour on textile reads differently than the same colour on foam board. Metallic and transparent elements are where approved files most often disappoint in reality.
Context. POSM is never seen in isolation. It sits next to competitor materials, under specific retail lighting, on a shelf of a specific height. A render that includes the real environment answers whether your material stands out or disappears.
What is worth rendering
Not everything needs it. In practice the list that justifies the cost is short:
- Rollups, spiders and sampling tables, where the question is scale and legibility
- Branded bars, counters and custom furniture, where the question is build feasibility and finish
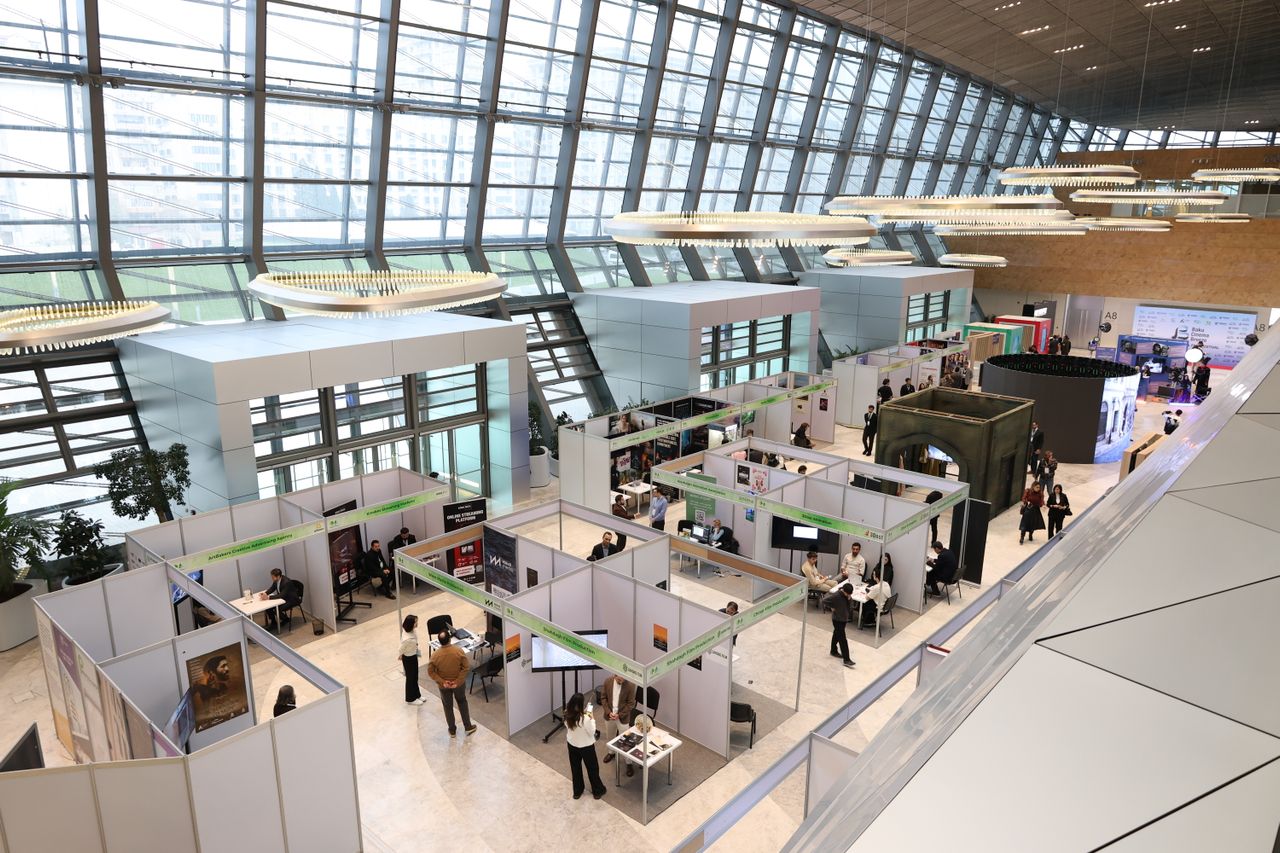
- Exhibition stands, where the question is flow and sightlines
- Shelf and in-store POSM, where the question is visibility against competitors
- Anything being produced in volume, where one mistake multiplies
A simple render of a single element is a small, fast job. A full scene or activation with environment, lighting and multiple camera angles is a larger one. The cost is driven by three things: how many distinct objects are in the scene, whether the environment has to be built or can be generic, and how many angles and revisions you need.
When not to render
If the item is flat, standard format, low volume and you have produced it before, skip it. Renders earn their money on custom builds, on volume, and on anything where the client has to approve something they cannot yet see. Rendering a standard A5 flyer is theatre.
How to brief one properly
A good render brief takes ten minutes and saves two rounds of revisions:
- Asset list and real dimensions. Not "a counter", but the actual width, height and depth.
- Materials and finishes. Textile, forex, plexi, wood, metal, matte or gloss. Name them.
- Environment. Trade hall, retail aisle, outdoor, or neutral studio background.
- Camera angles. How many, and from whose point of view. Visitor eye level is usually the one that matters.
- Final artwork. Renders built on placeholder artwork have to be redone.
- What the render is for. Internal approval, client presentation and production reference each need a different level of finish.
The practical argument
The reason to render is rarely aesthetic. It is that approval becomes faster and cheaper. A client who can see the object says yes or asks for a change in one round. A client looking at a flat file says yes, then reacts to the physical item, and by then the change is a production cost rather than a design cost.
In Romania this work is handled by our sister studio in Bucharest, Artwist, which lists it as randări 3D pentru standuri expoziționale and covers everything from single rollups and sampling tables to full activation scenes.
Klijenti o nama

